ZITADEL
The following fields are necessary in order to configure an external JWT signer with OpenZiti. This configuration will enable authentication via JWTs obtained through an Authorization Code Flow with PKCE or PKCE flow. ZITADEL allows you to self-host your own ZITADEL instance or use a version from their SAAS provider (sign up here). Regardless of how you get an instance of ZITADEL, the UIs should be identical.
ZITADEL also provides an OpenID discovery endpoint at the base of your ZITIADEL server URL +
.well-known/openid-configuration. For example, if you self-hosted a ZITADEL instance at
https://zitadel.example.com, the discovery document will be located at
https://zitadel.example.com/.well-known/openid-configuration.
At this time, ZITADEL does not allow for customizing the audience (aud) claim within the JWTs. It is recommended
you create a new ZITADEL Project for this reason as you will need to add this generated Client Id from ZITADEL as
the Audience mapped to the external JWT signer.
| Field | Where to Find the Value in the ZITADEL UI | Example |
|---|---|---|
| Issuer | Use the OpenID discovery document, expected to be the URL of the ZITADEL instance | https://zitadel.example.com |
| Client ID | The ZITADEL Application page, within the ZITADEL project has a Client Id field | 311640049412276226 |
| Audience | Same as the Client ID | 311640049412276226 |
| External Auth URL | Same as the Issuer | https://zitadel.example.com |
| JWKS Endpoint | Use the OpenID discovery document, see above for the location | https://zitadel.example.com/oauth/v2/keys |
| Claims Property | Often email, but can also be sub or any other claim contained in the JWT | |
| Scopes | openid is always included. | profile offline_access |
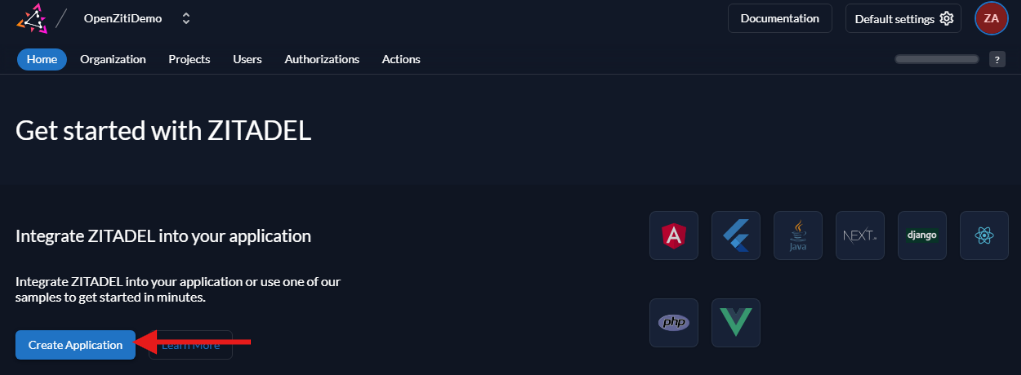
Create an Application
From the ZITADEL web portal, if necessary, create an application by clicking the Create Application button.
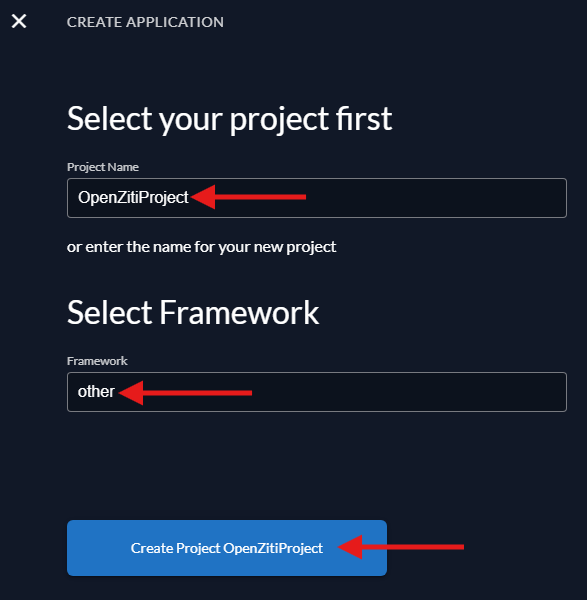
Create a Project
On the popup, enter a Project Name and select a framework by choosing Other and click the button to Create Project ${YourProjectName}
Create a Project
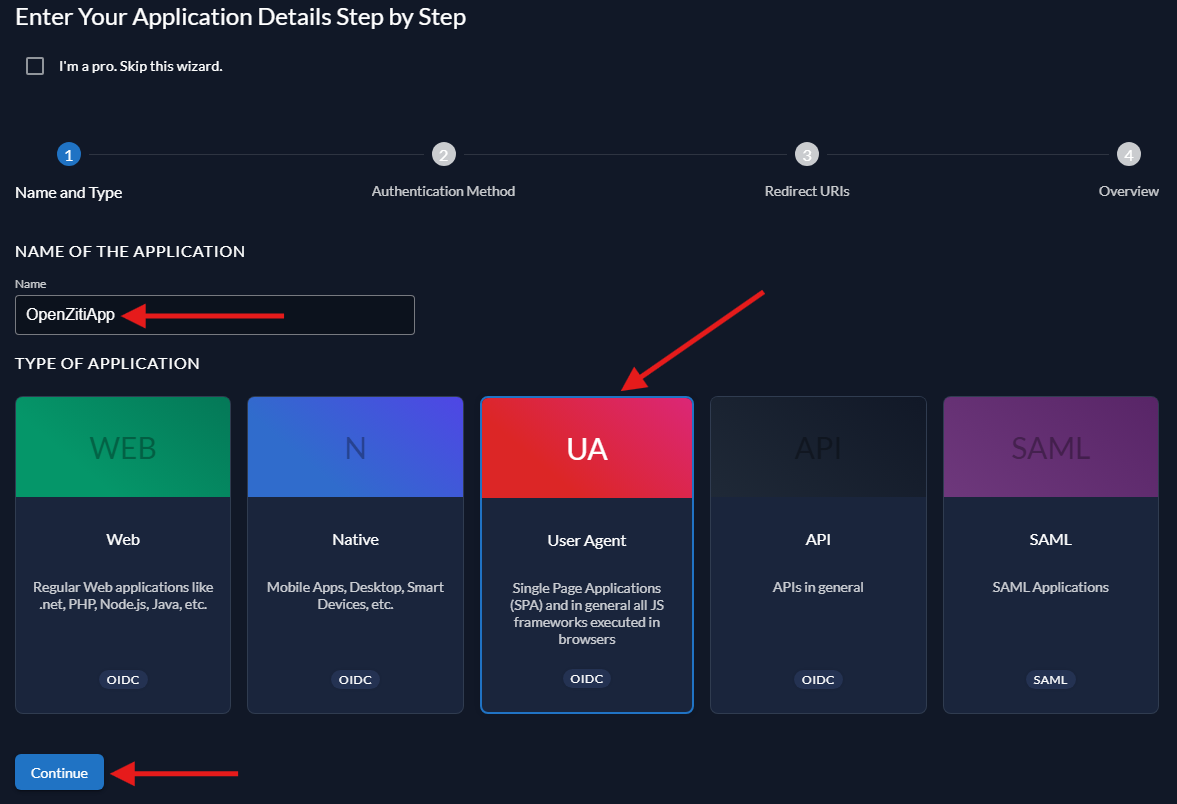
Following the wizard, add a Name for the ZITADEL Application you're creating and choose the Type of Application as User Agent. Other types will work but each of the types have small subtleties to be aware of. If you are familiar with the various types and the implications, by all means use the type that works for you. The only OpenZiti requirement is that whatever type you choose will allow you to add the appropriate callback URLs to the ZITADEL configuration and allows for the PKCE flow to be selected. Select the type and click Continue.
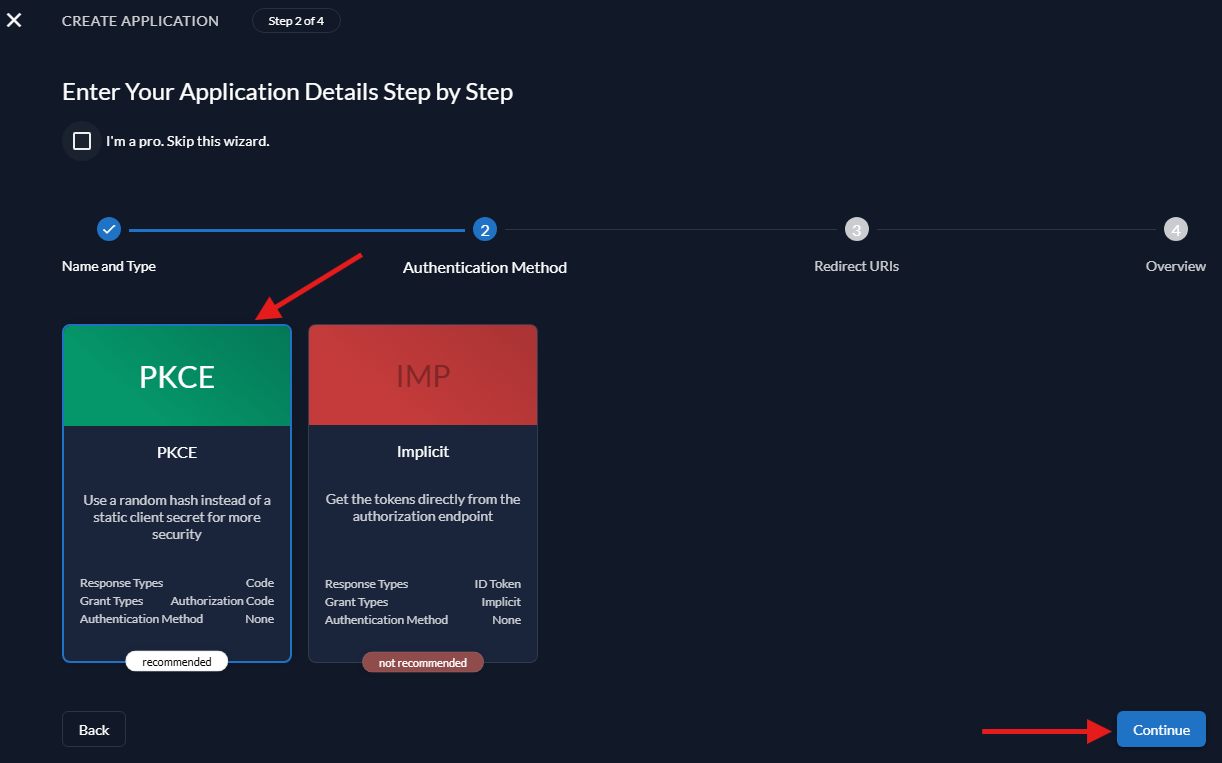
Choose Authentication Method
All OpenZiti flows will follow the PKCE flow. Ensure you select PKCE and click Continue.
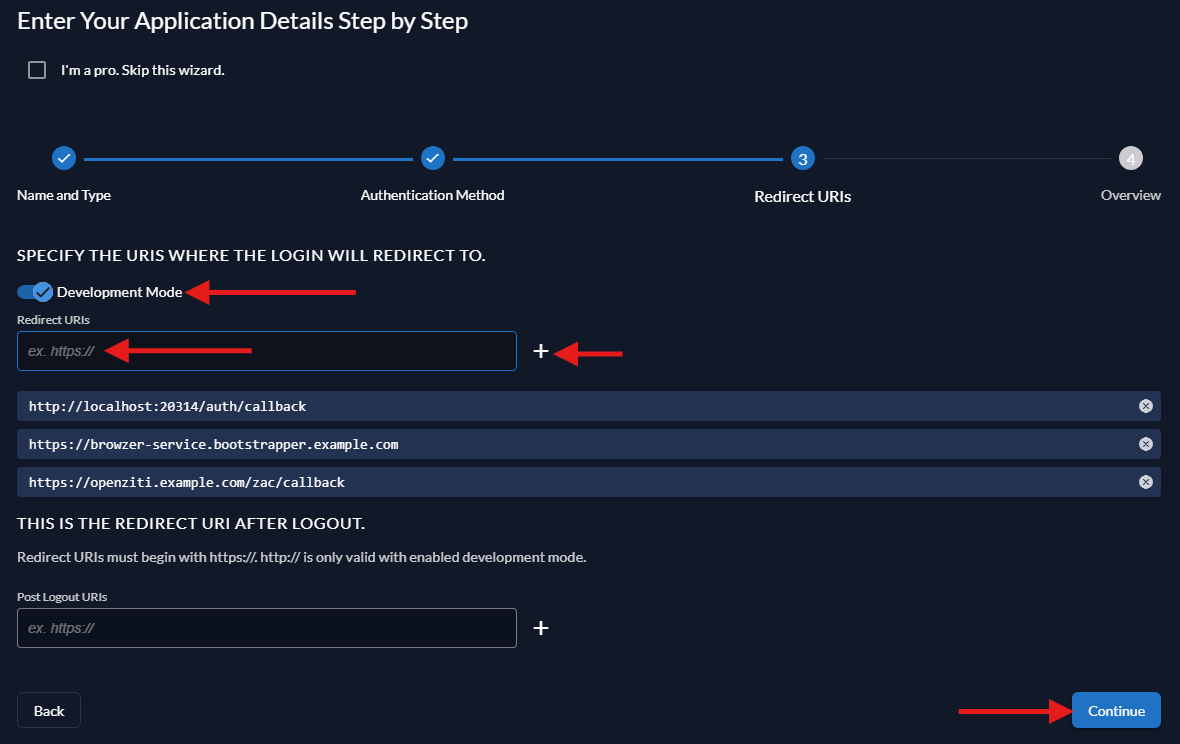
Add Allowed Redirects
As mentioned before, the ZITADEL types enforce different rules. The User Agent flow will not allow for
local redirects that use the insecure http protocol unless the Development Mode toggle is toggled. Since
OpenZiti is following a PKCE flow even if an attacker were to intercept the code it is insufficient to compromise
the flow. An attacker would need to be able to dump the memory of the running tunneler and obtain the code verifier
to be able to compromise the PKCE flow. This is required if using ZITADEL with OpenZiti tunnelers.
Callback URLs
The Authorization Code Flow with PKCE or PKCE flow requires configuring callback URLs the Identity Provider (IdP) will allow redirecting to. If the URL for a specific client is not specifically listed, the IdP will deny the authentication request. Depending on the technology used to authenticate to the OpenZiti Network, different URLs need to be specified. More than one URL is allowed to be configured. Decide if you are configuring the IdP for use with tunnelers, with BrowZer or with both and add the appropriate callback urls.
In the Auth0 dashboard, with the application selected, choose the "Settings" tab and scroll down to the "Application URIs" section and add the URLs.
For Tunnelers
Tunnelers require an allowed callback URL of: http://localhost:20314/auth/callback.
For BrowZer
The URL to configure for BrowZer will vary depending on the BrowZer configuration. BrowZer requires a wildcard certificate in order to be deployed and all services are delivered from this wildcard domain. You will need to add the configured wildcard domain as the callback url.
For Ziti Admin Console (ZAC)
The URL to configure an IdP for so that ZAC will be able to authenticate will depend on how you deploy your ZAC. The current method recommended to deploy ZAC will deploy it on the same URL as the controller. For example: https://controller.example.com/zac/callback
Enter the Redirect URIs for the OpenZiti solutions you want to enable, toggle Developer Mode if you plan to use OpenZiti tunneling solutions, and click Continue.
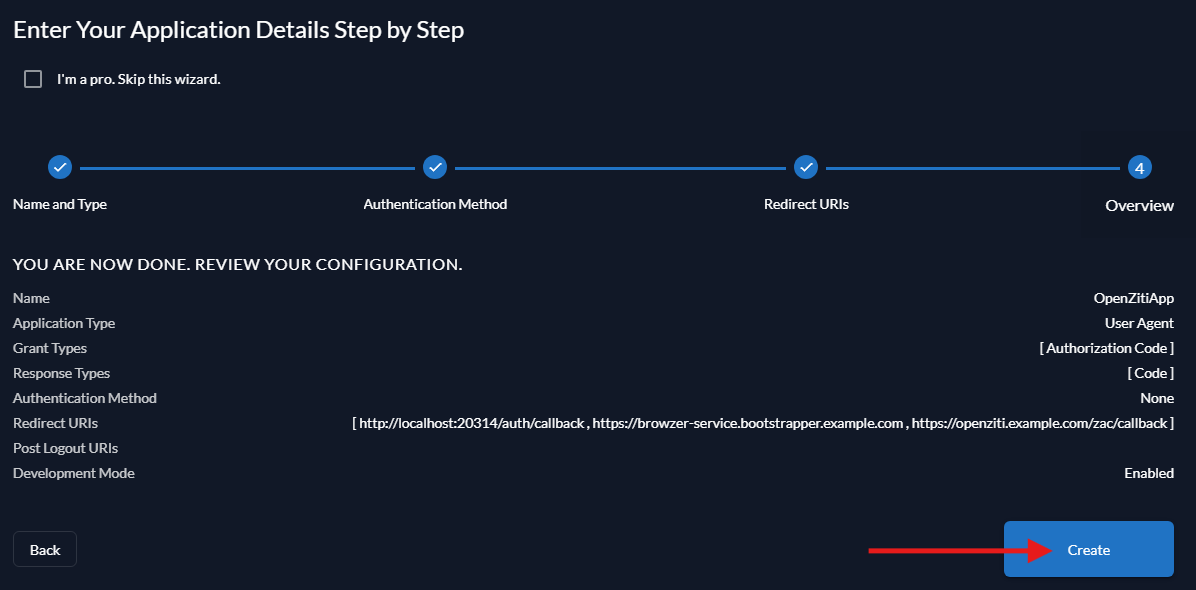
Finish Creating the Project
The final wizard page is simply an overview of the configuration as you have entered it. Click Create to create the project.
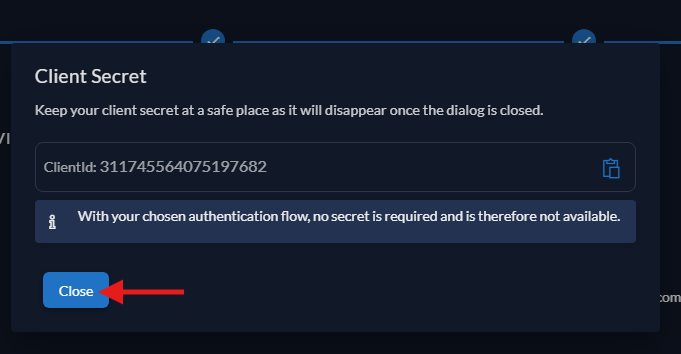
After clicking Create, you will see a confirmation dialog indicating the Client Id. Simply click Close.
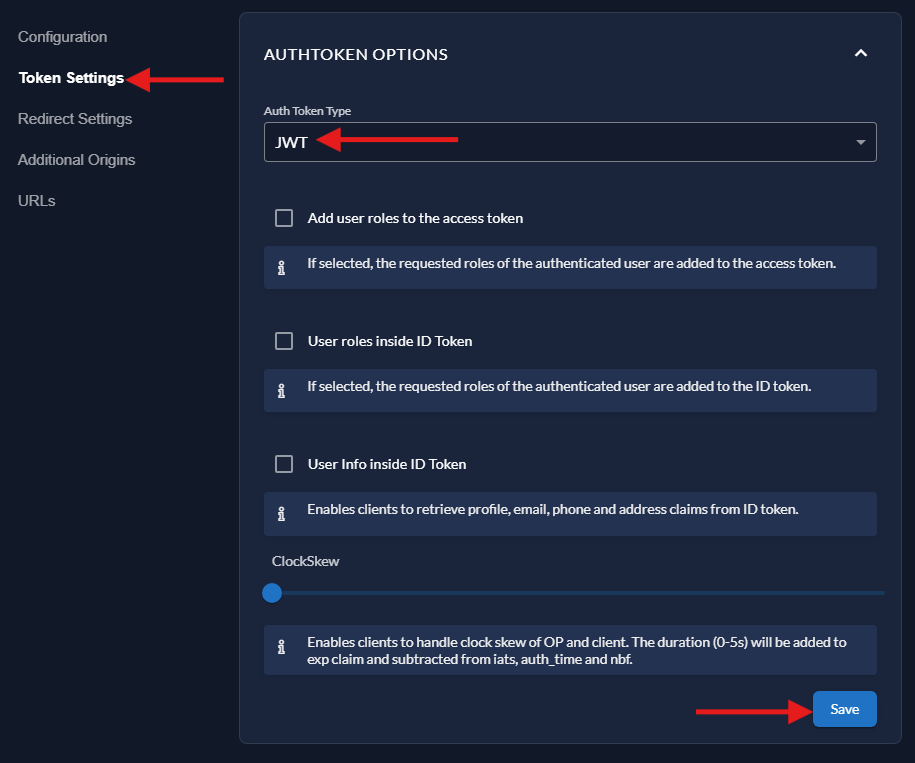
Use JWT Token Type
On the ZITADEL Project overview page, find the Token Settings option toward the bottom of the screen and select it. Once the form appears, change the Auth Token Type from Bearer Token to JWT and click the Save button.
Create an Action Adding Email to Tokens (Optional)
It's quite common to want to use a user's email address as the external id for users in your OpenZiti Network.
ZITADEL does support adding email addresses to tokens however it will require a ZITADEL action to be created and
assigned to the proper flow. If you use the sub claim as the external id for identities, these steps are not
necessary. If you prefer to use the user's email address, expand this section and follow the steps therein.
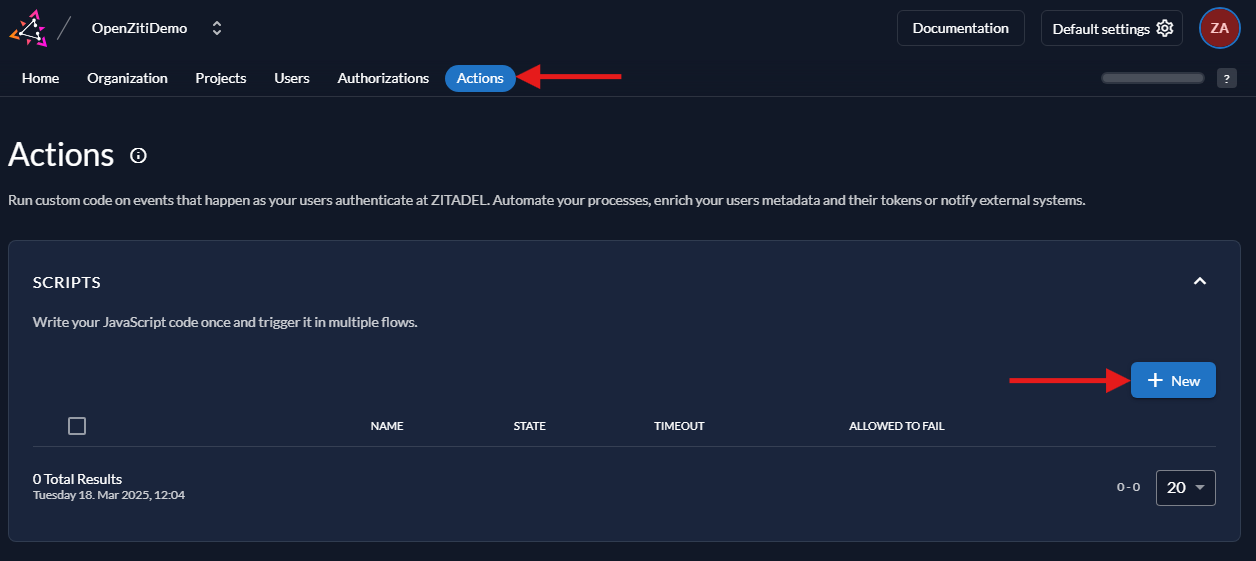
Create an Action to Add Email to Tokens
From the main ZITADEL overview page, find the Actions tab and select it. On the new page that pops up, click the New button to being the process of adding a new Action.
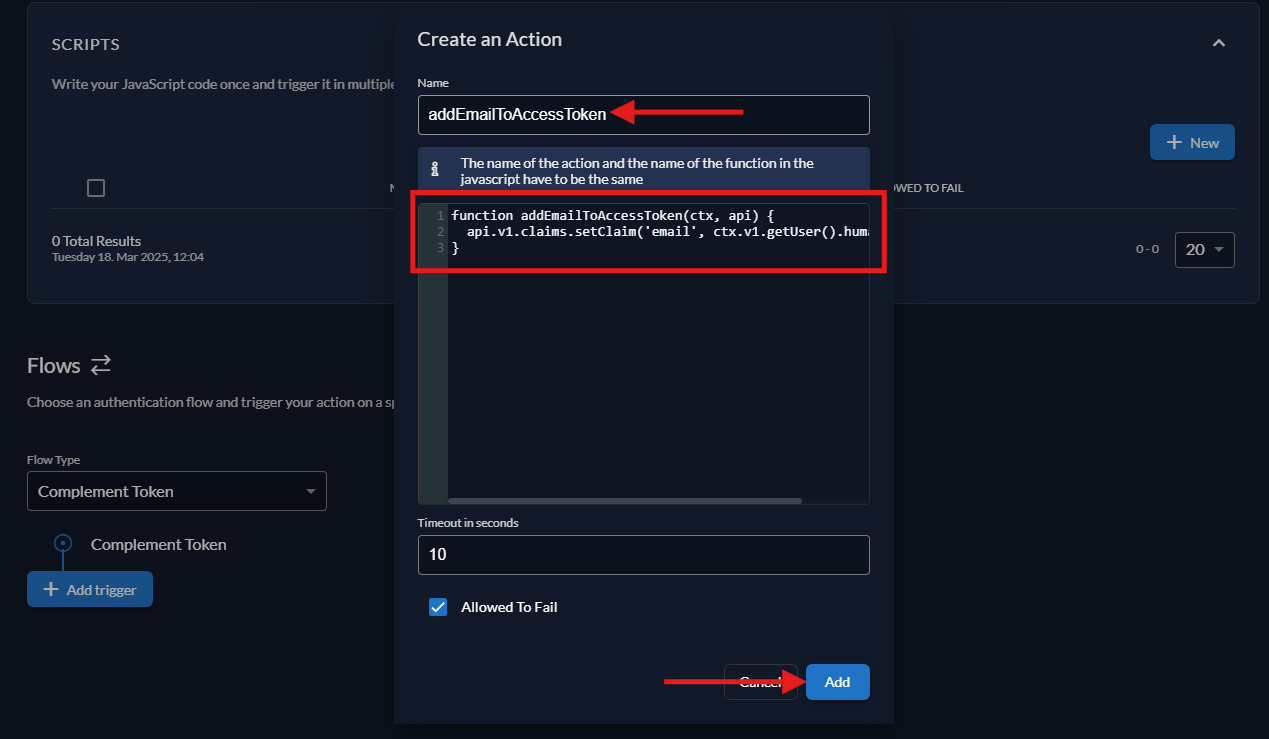
Add Action
A new modal will pop up on the page. Here, enter the Name of the action (addEmailToAccessToken). Take note,
the name must match the name of the function. In the multi-line text block, copy and paste the following code. This
code will add an email claim to all access tokens using the ZITADEL v1 api, then click Add to add the action.
addEmailToAccessToken action function
function addEmailToAccessToken(ctx, api) {
  api.v1.claims.setClaim('email', ctx.v1.getUser().human.email);
}
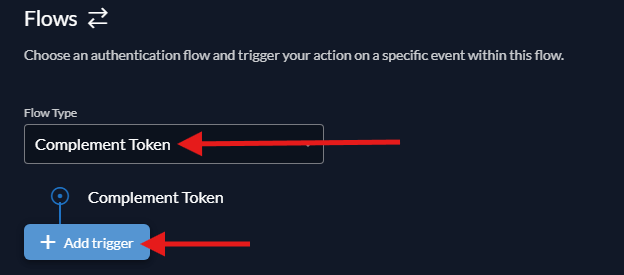
Add Action Trigger
With the action in place, it now needs to be assigned to a flow in the ZITADEL admin interface. At the bottom of the screen, find the Flows section. Select the Compliment Token flow from the dropdown and click Add Trigger.
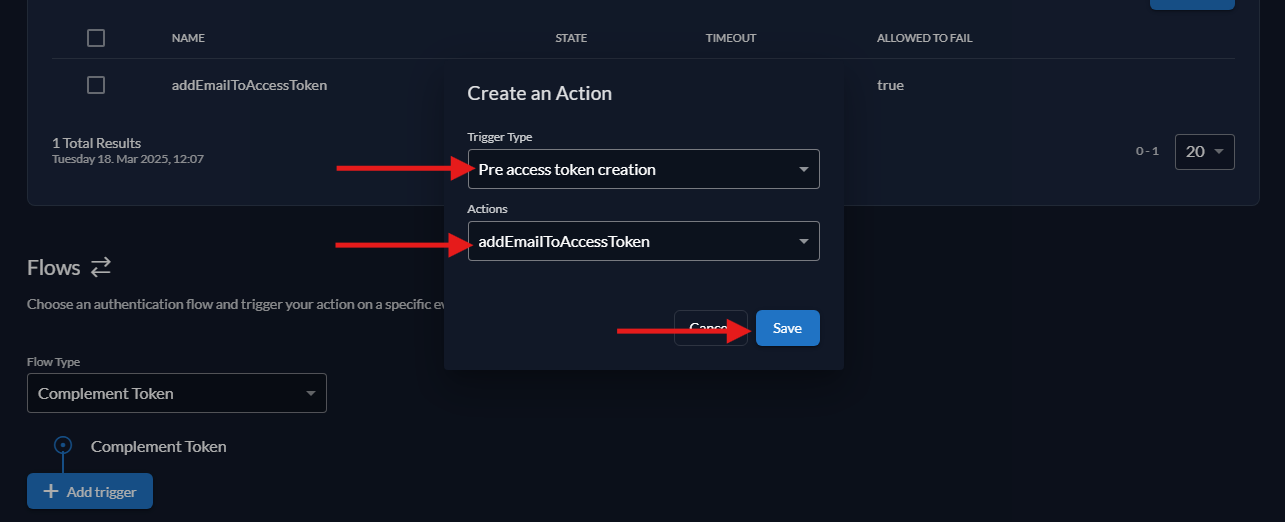
A modal will pop up, for the Trigger Type choose Pre access token creation then choose the addEmailToAccessToken
action for the Action and click Save.
With the action assigned, the ZITADEL server should be ready to deliver properly configured tokens to the OpenZiti controller for authentication.