How to set up Okta for BrowZer
Get an Okta Account
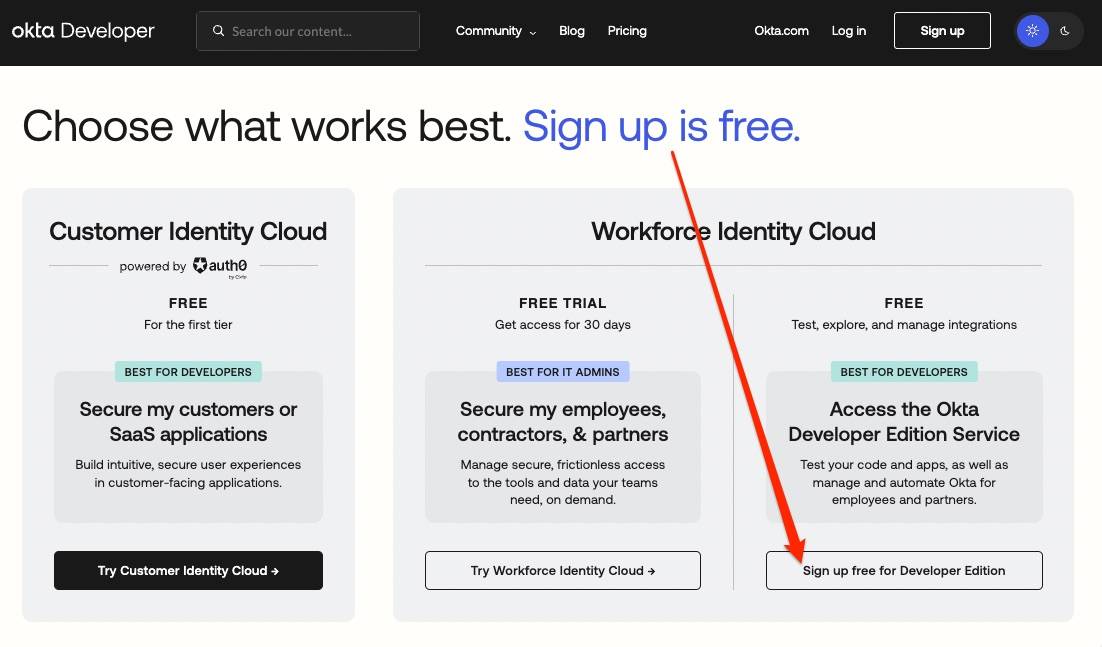
If you don't already have an account you can sign up for a free Okta account at https://developer.okta.com/signup
Add a new Application
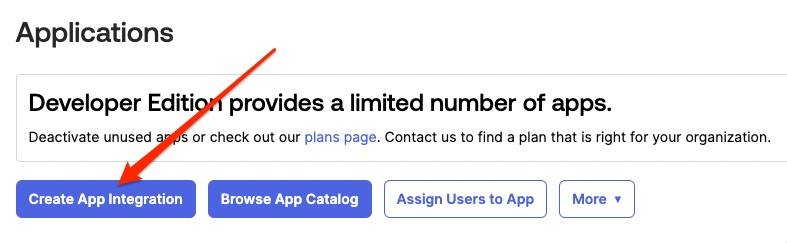
Once you have an Okta account, click on Applications in the left navbar:

Then click on the Create App Integration:
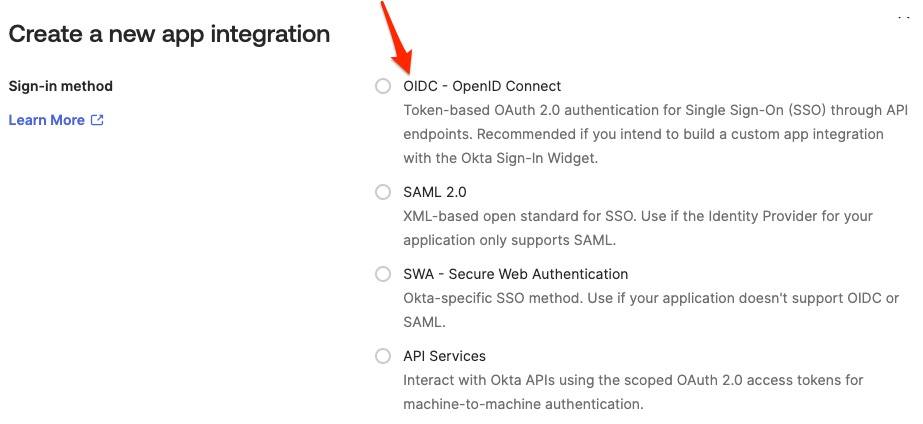
Next, select the type of SSO protocol to implement.
Okta supports two SSO standards:
OpenID Connect (OIDC)andSecurity Assertion Markup Language (SAML)
Okta recommends using OIDC for new SSO integrations, and, BrowZer requires OIDC, so select OIDC:
Now, select the Application type of Single-Page Application
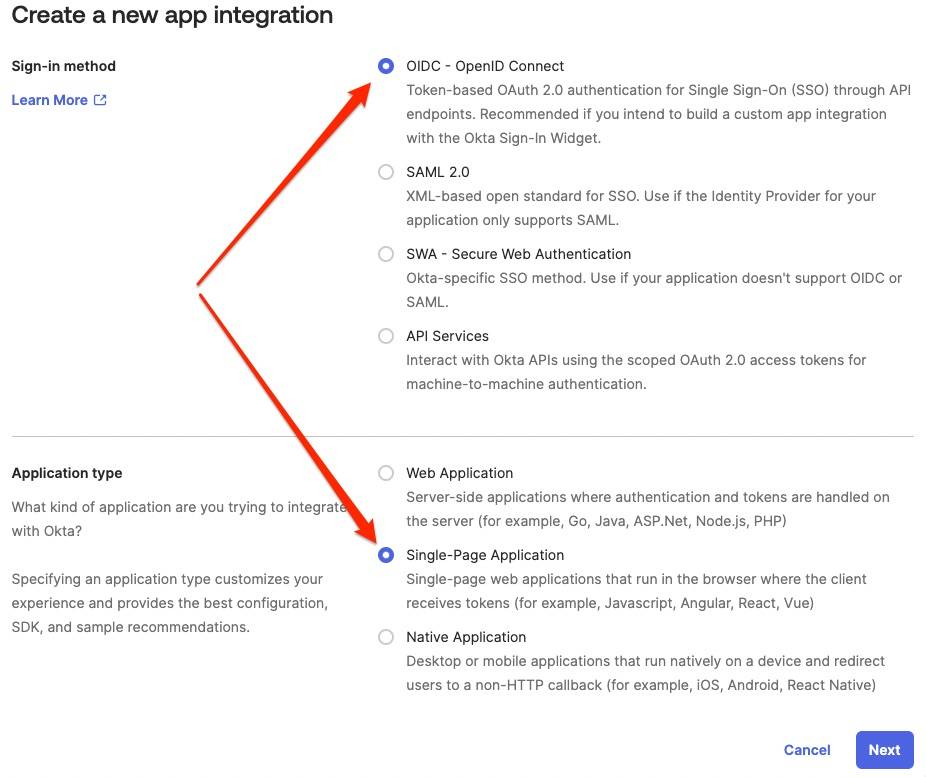
Click Next
Give your SPA a name.
Ensure Grant type is Authorization Code
Set Sign-in Redirect URIs to https://<YOUR_BROWZER_DOMAIN>/login/callback (where YOUR_BROWZER_DOMAIN is determined here)
Set Sign-out Redirect URIs to https://<YOUR_BROWZER_DOMAIN> (where YOUR_BROWZER_DOMAIN is determined here)
Set COntrolled access to Skip group assignment for now
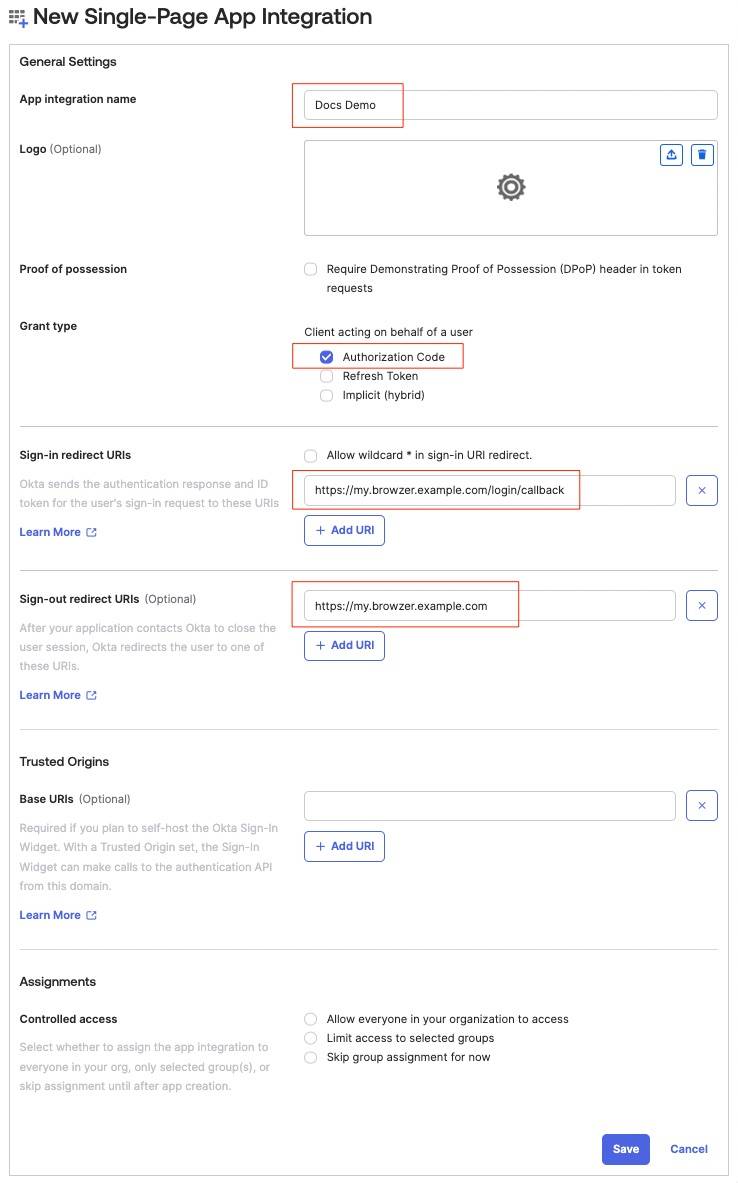
Click Save
Gather IdP Information
Your OpenZiti network must be configured to become aware of your Okta identity provider. OpenZiti refers to the identity provider as an External JWT Signer. Before you can set up the new JWT signer, you must gather some information from the new Okta Application that you just created:
- the
clientId - the
issuer - the
jwks_uri
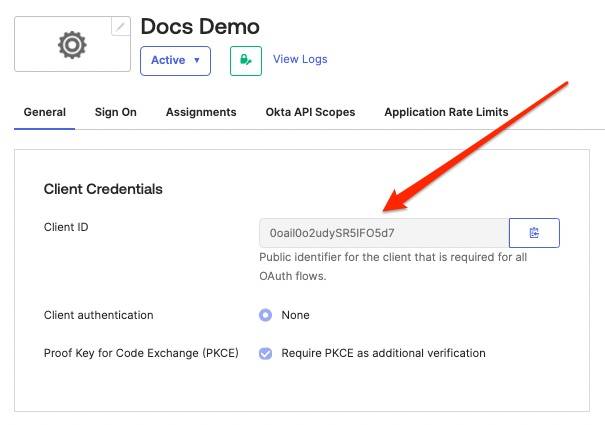
Gather clientId
The clientID value can be found in the general tab of the SPA you created above:
Gather issuer
The issuer can be found via the openid-configuration endpoint that all OIDC-compliant identity providers expose. The openid-configuration endpoint URL for Okta looks like this:
https://<OKTA_DOMAIN>/.well-known/openid-configuration (where OKTA_DOMAIN for a free dev account will resemble dev-12345678.okta.com)
When you enter the openid-configuration endpoint URL (https://<OKTA_DOMAIN>/.well-known/openid-configuration) into a browser, you will receive a response resembling the following:
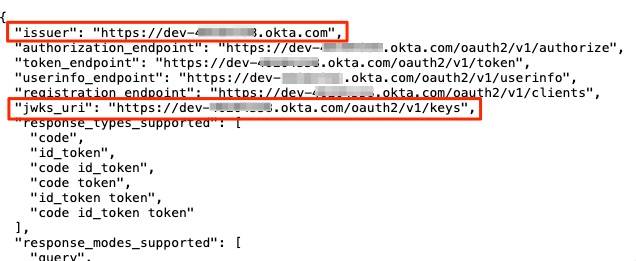
Take note of the issuer value.
Gather jwks_uri
Take note of the jwks_uri value returned from the above openid-configuration endpoint URL.
Create External JWT Signer
Using the values described above, use the ziti CLI to configure an external JWT signer that represents your Okta identity provider. You can find details on how to do this in the BrowZer Quickstart documentation