Keycloak for BrowZer
Create a new Realm
A realm in Keycloak is equivalent to a tenant. Each realm allows an administrator to create isolated groups of applications and users. Initially, Keycloak includes a single realm, called master. Use this realm only for managing Keycloak and not for managing any applications.
Use these steps to create a realm for use with BrowZer.
- Login to your Keycloak Admin Console.
- Click the word master in the top-left corner, then click Create Realm:

- Enter
browZerDemoRealm(or whatever you want, butbrowZerDemoRealmwill be used throughout this example) in the Realm name field: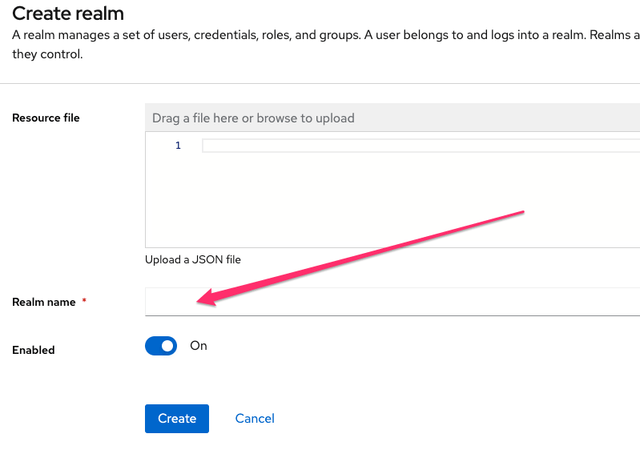
- Click Create.
Create a new Client
Use these steps to create a realm for use with BrowZer.
- Click the word master in the top-left corner, then click browZerDemoRealm
- Click Clients
- Click Create client
- Fill in the form with the following values:
- Client type:
OpenID Connect - Client ID: browZerDemoClient (or whatever you want, but browZerDemoClient will be used throughout this example)
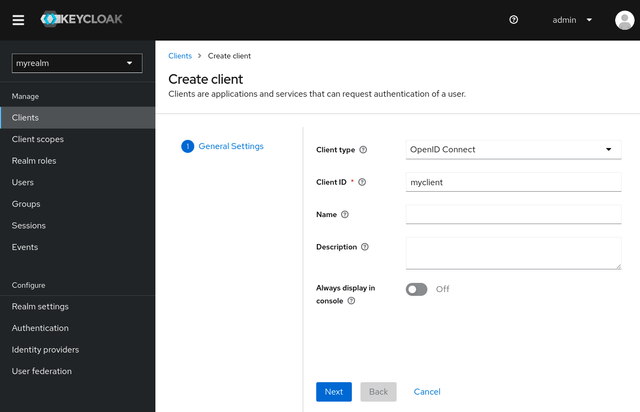
- Click Next
- Confirm that Standard flow is enabled
- Click Next
- Make these changes under Login settings
-
Set Valid redirect URIs to
https://<DOMAIN_WHERE_YOU_WILL_RUN_BROWZER_BOOTSTRAPPER>/*(NOTE: the
/*on the end of the redirect URI is important!) -
Set Web origins to
https://<DOMAIN_WHERE_YOU_WILL_RUN_BROWZER_BOOTSTRAPPER>
-
- Click Save
- Client type:
Federate out to Google
If you wish to set up Keycloak to be able to federate out to Google as an OpenID Connect (OIDC) authentication provider, follow the instructions below.
- Go to your Google Developer Console
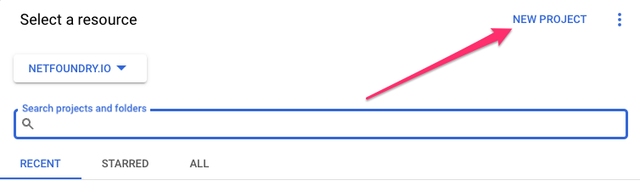
- Click on the dropdown near the Google Cloud logo:

- Click on NEW PROJECT
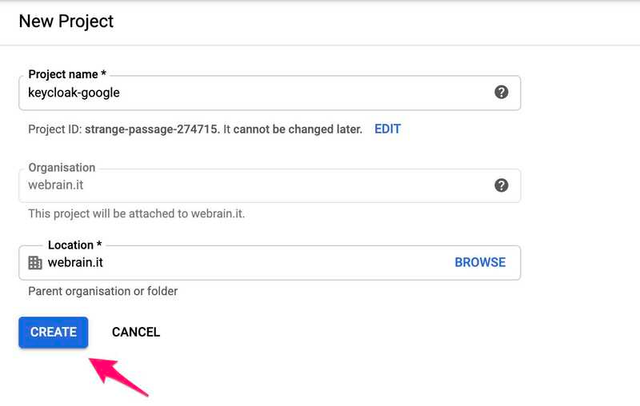
- In the following form provide a name and an organization, then click on Create:
- You will be redirected to a page similar to the one in the following screenshot:
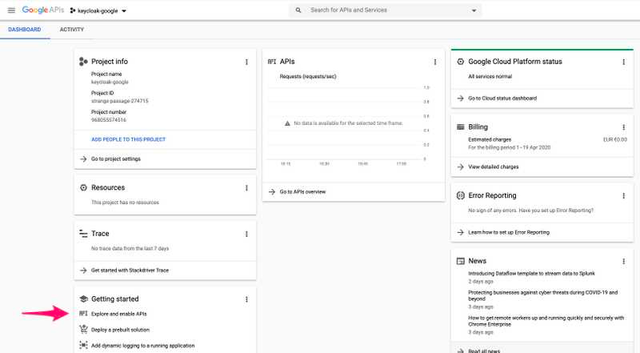
- Click on Explore and enable APIs and you will be redirected to the following page, click on Credentials.

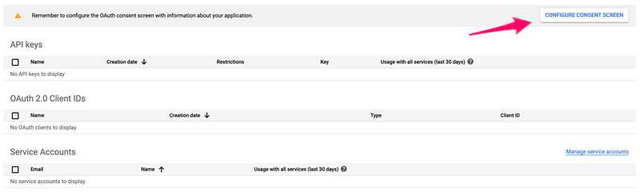
- Now the Google Console reminds us that we need to Configure the consent screen. This is a mandatory step for our integration and it configures what users will see when we redirect them to Google for signing in.
Let’s do it now, click on that button.
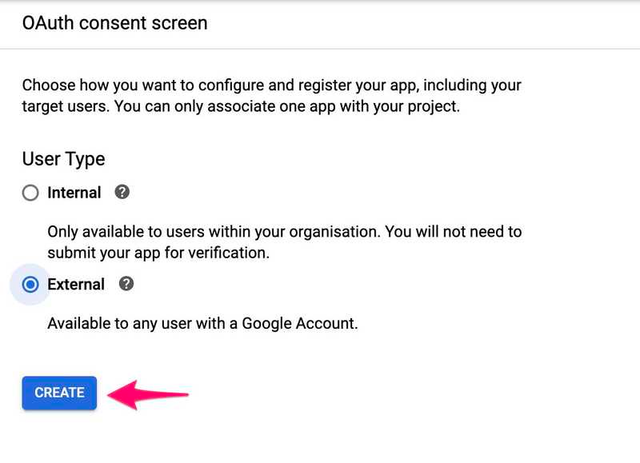
- Select External if we want to allow any Google account to sign in to our application. Then click on Create.
-
We will be redirected to a page with many settings, fill them as follows:
- Application type: Public
- Application name: Your application name (anything you want)
- Authorized domains: Your application top level domain name
- Application Homepage link: Your application homepage
Then click on Save at the end of the page
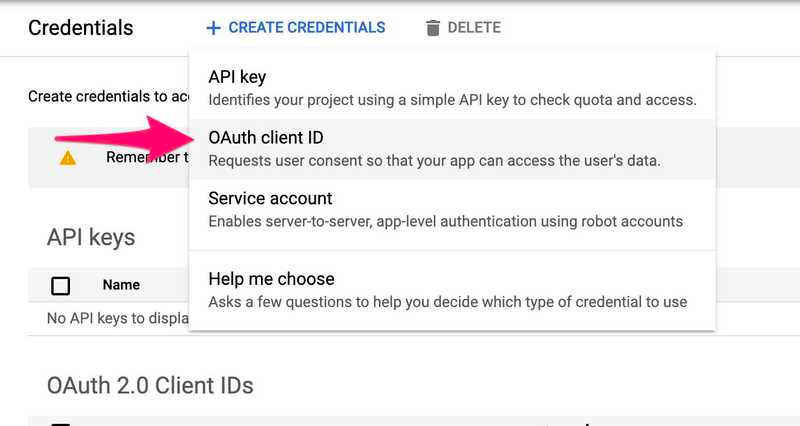
- Go to the Credentials page

- Click on Create Credentials
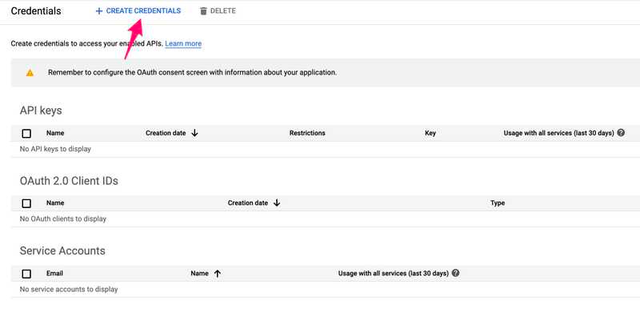
- Click on OAuth client ID
-
Select Web Application as the type of your application, add a name for your application, and into the Authorized redirect URIs field add the URL you saved near the end of the first step of this guide. It should be something like:
https://YOUR_KEYCLOAK_DOMAIN/auth/realms/YOUR_REALM_NAME/broker/google/endpointYou will get now a set of credentials, Client ID and Client Secret
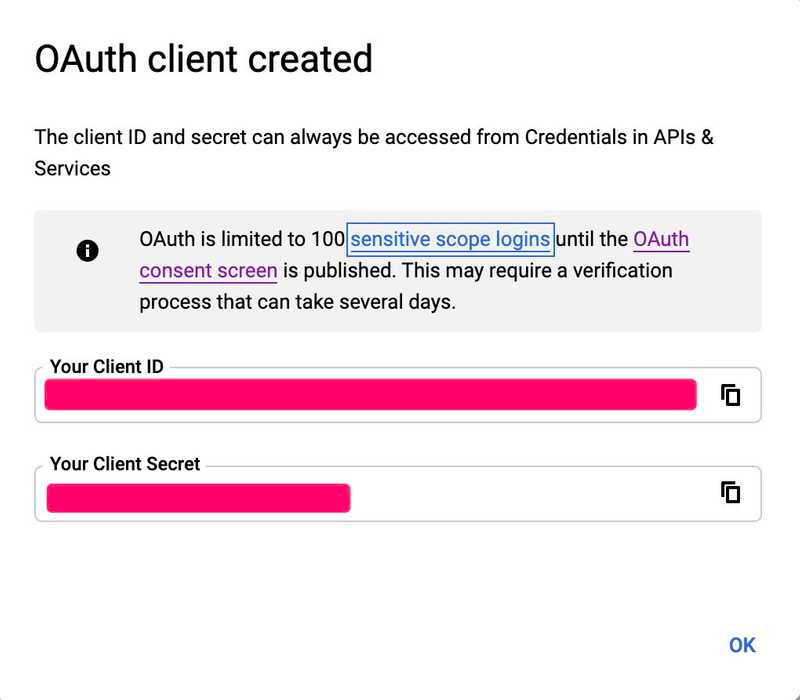
- Leave the above Google Console page open. You will need the Client ID and Client Secret while setting up Keycloak in the next parts of this guide.
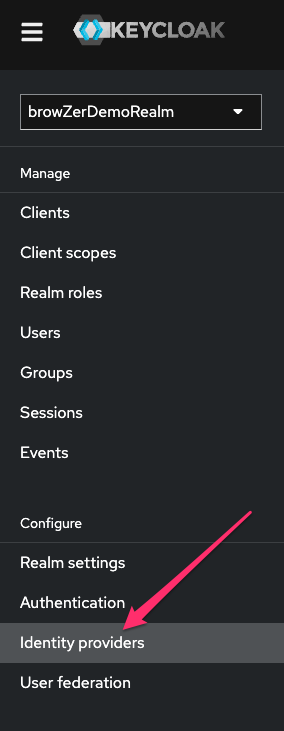
- Back in Keycloak admin console, click on Identity Providers:
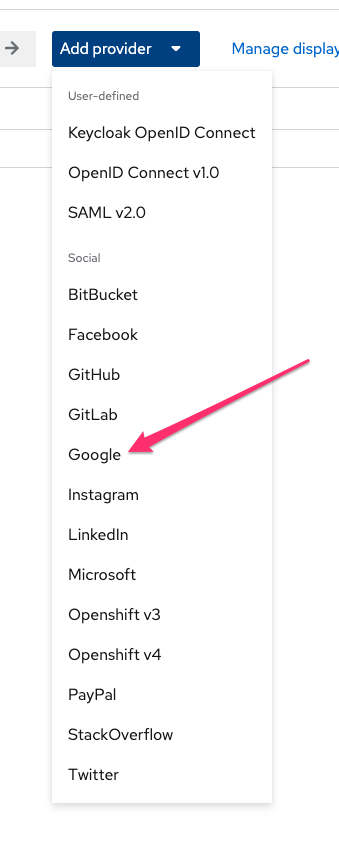
- Click Add provider, then select Google as the provider:
-
Add the ClientId and Client secret from the above Google Console page into Keycloak:
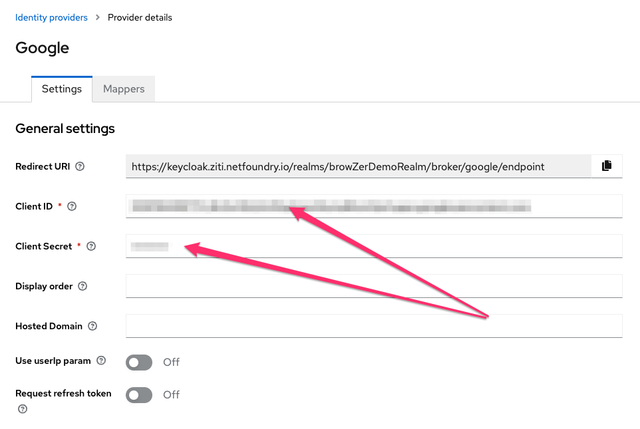
-
Click on Save
-
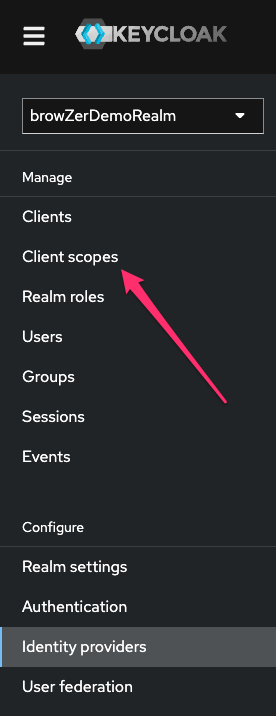
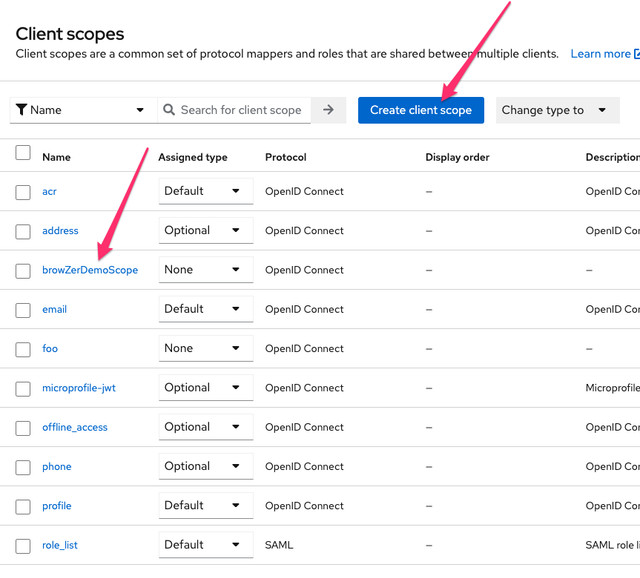
In Keycloak admin console, click on Client Scopes:
- Click Create Client Scope
- Go to Mappers tab for your new Scope
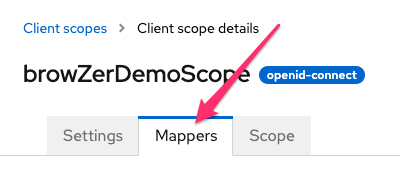
- Create a new Audience Mapper
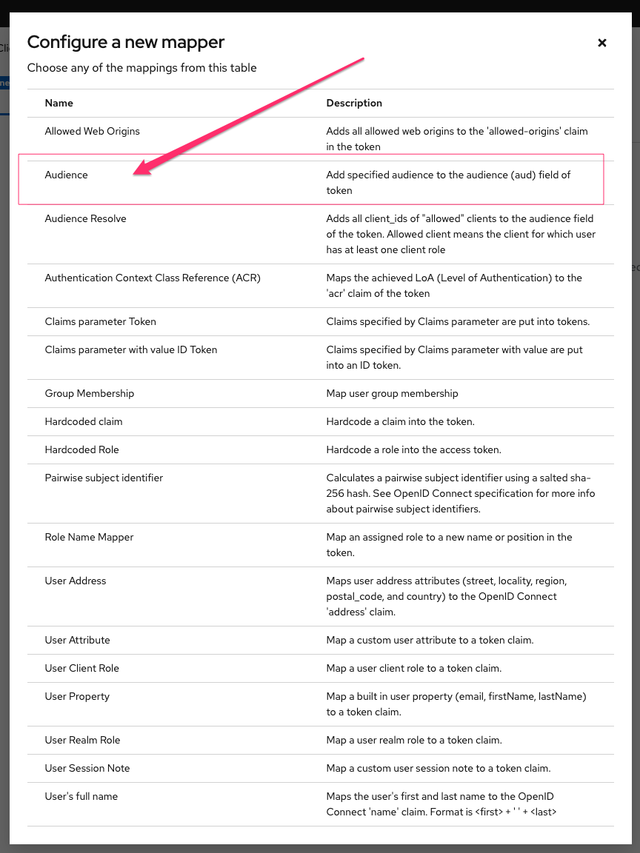
-
Include the browZerDemoClient
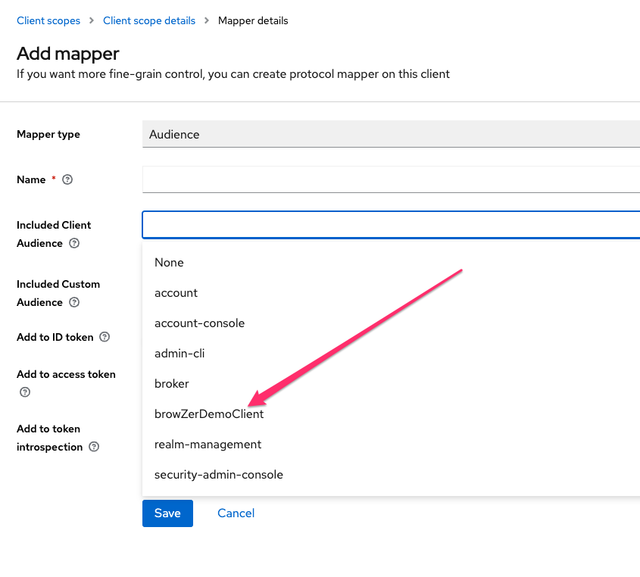
-
Ensure the Include in token scope checkbox is ON
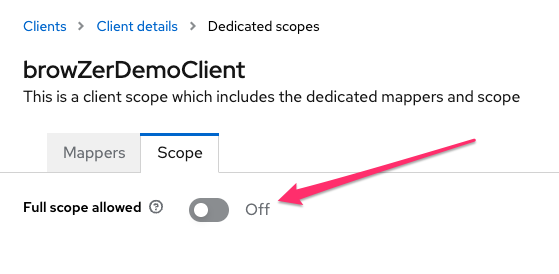
-
Go to Clients, browZerDemoClient, Client Scopes, dedicated, Scope, and disable the Full scope allowed checkbox:
- Click on Client scopes:
-
Click Create client scope, then select browZerDemoScope:
-
Click on Realm settings, then click OpenID Endpoint Configuration:
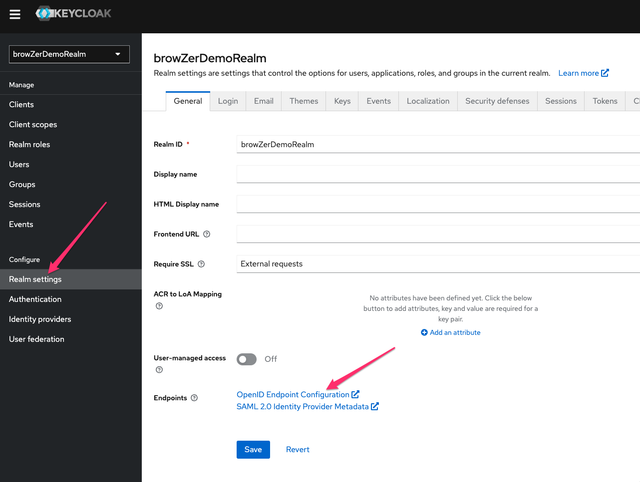
-
This will produce JSON resembling the following (take note of the
issuerandjwks_urifields. Yours will be slightly different than what is shown here):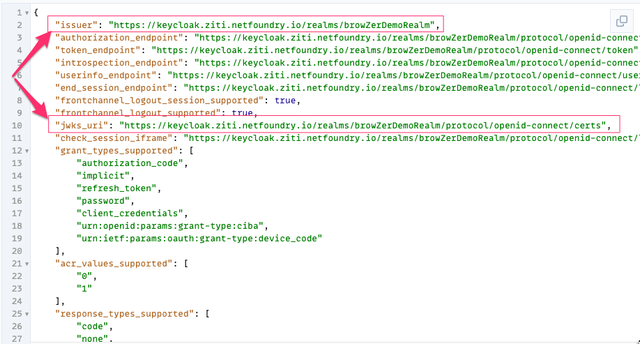
Create External JWT Signer
Using the the issuer and jwks_uri values described above, use the ziti CLI to configure an external JWT signer that represents your Keycloak identity provider. You can find details on how to do this in the BrowZer Quickstart documentation