Auth0 for BrowZer
Get an Auth0 Account
If you don't already have an account you can sign up for a free account at https://auth0.com/signup
Add a new Application
Once you have an Auth0 account, click on "Applications" in the left navbar:
Then click on the "Create Application":
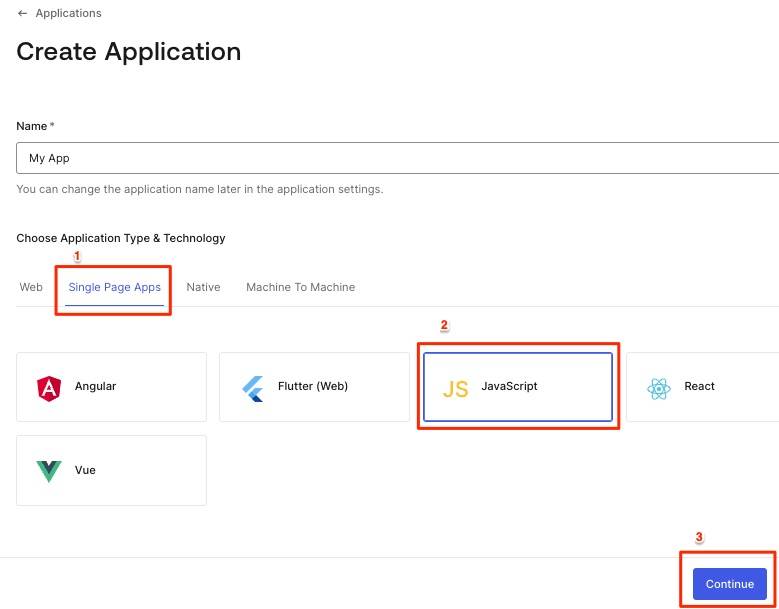
Then Create a "Single Page Web Application":
Add Callback & Logout URL
BrowZer software will perform an OIDC/PKCE exchange with your Auth0 identity provider when your users authenticate onto your Ziti network. For this to succeed, you need to add your wildcard domain to both the Allowed Callback URLs setting, and the Allowed Logout URLs setting for your Aut0 application:
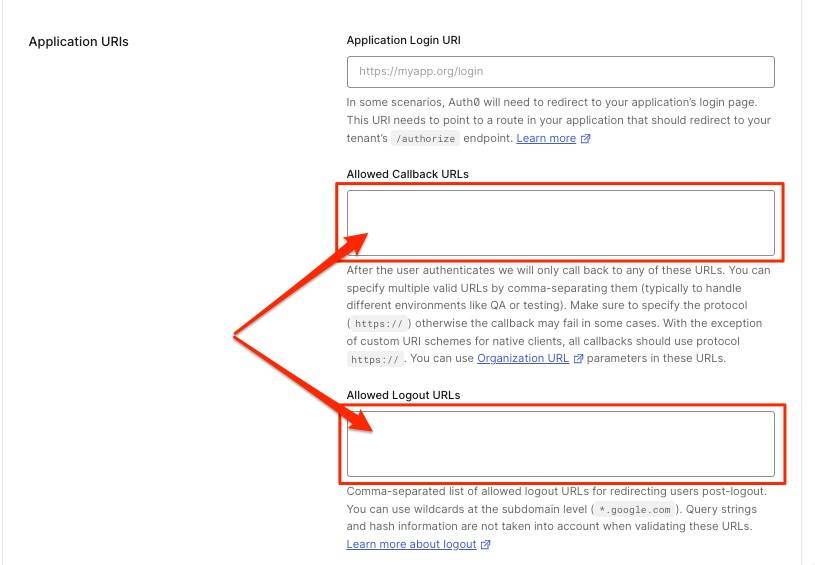
For example:
Failure to properly configure the above two settings will result in the following Auth0 error page when your users visit your BrowZer URL:

Add a new API
Click on APIs in the left navbar:
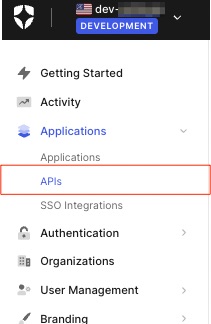
Then click the Create API button:

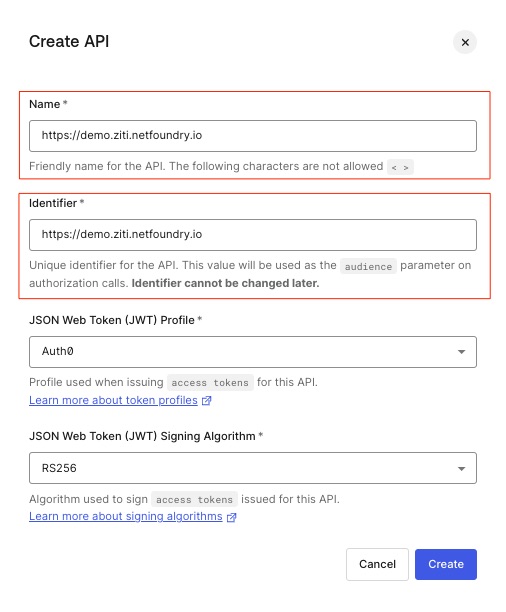
In the form, use whatever name you like, but make sure the Identifier is https://<YOUR_BROWZER_URL>. For the example used in this documentation, we will use https://demo.ziti.netfoundry.io
Then click the "Create" button:
Add a new Post Login Trigger
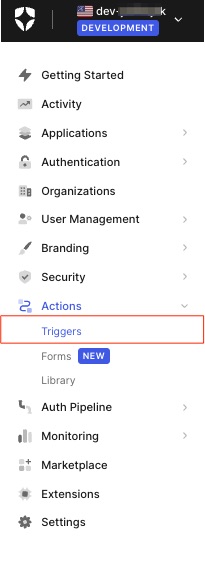
Click on Actions in the left navbar, then click Triggers:
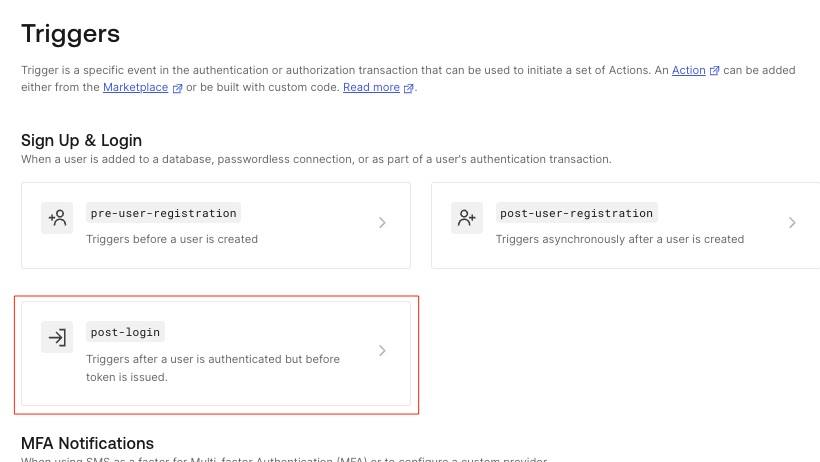
Now click on post-login:
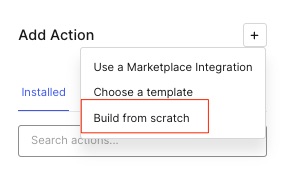
Now click on +:
Now select Build from scratch:
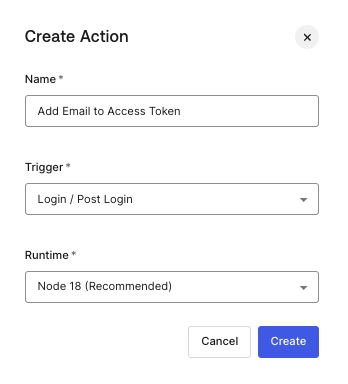
Name the action Add Email to Access Token, then click Create
Delete any boilerplate code that appears, and replace it with the following:
/**
 * Handler called during a PostLogin flow.
 *
 * @param {Event} event - Details about the user and the
 *                        context in which they are logging in.
 * @param {PostLoginAPI} api - Interface whose methods can be
 *                             used to change the behavior of the login.
 */
exports.onExecutePostLogin = async (event, api) => {

  if (event.authorization) {
    api.accessToken.setCustomClaim(`email`, event.user.email);
  }
};
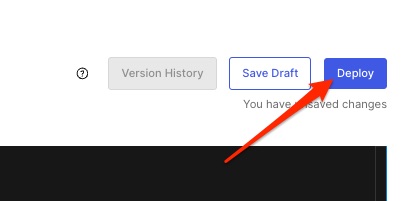
Now click Deploy:
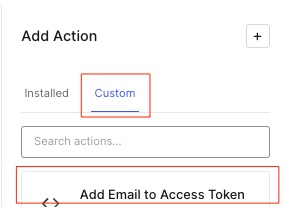
Return to the post-login Trigger, then click on Custom:
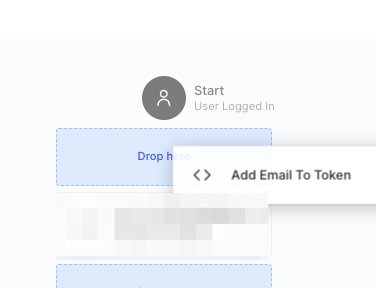
Click and drag your Add Email to Access Token Action onto the Trigger, then drop it into place, then click Apply in teh top right.
Gather IdP Information
Your OpenZiti network must be configured to become aware of your Auth0 identity provider. OpenZiti refers to the identity provider as an External JWT Signer. Before you can set up the new JWT signer, you must gather some information from the new Auth0 Application that you just created:
- the
clientId - the
issuer - the
jwks_uri
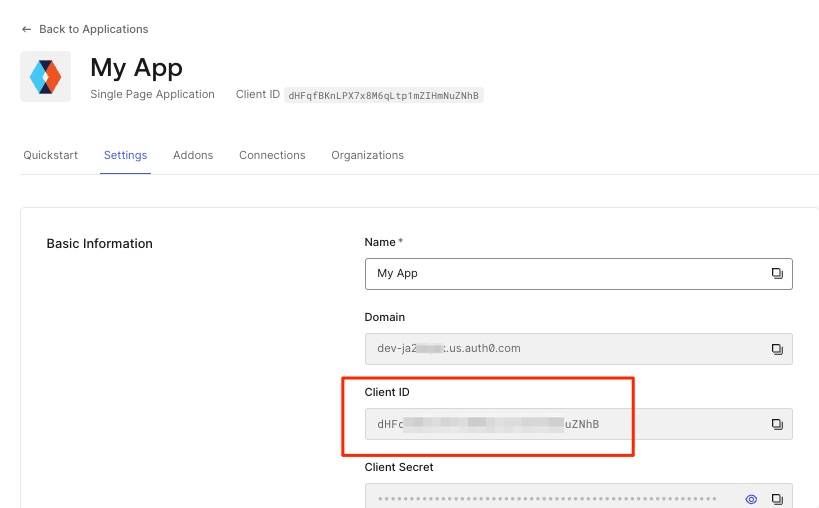
Gather clientId
The clientID value can be found in the Settings tab of the SPA you created above:
Gather issuer
The issuer can be found via the openid-configuration endpoint that all OIDC-compliant identity providers expose. The openid-configuration endpoint URL for Auth0 looks like this:
https://<AUTH0_DOMAIN>/.well-known/openid-configuration
where the value for <AUTH0_DOMAIN> can be found in the Settings tab of the SPA you created above:
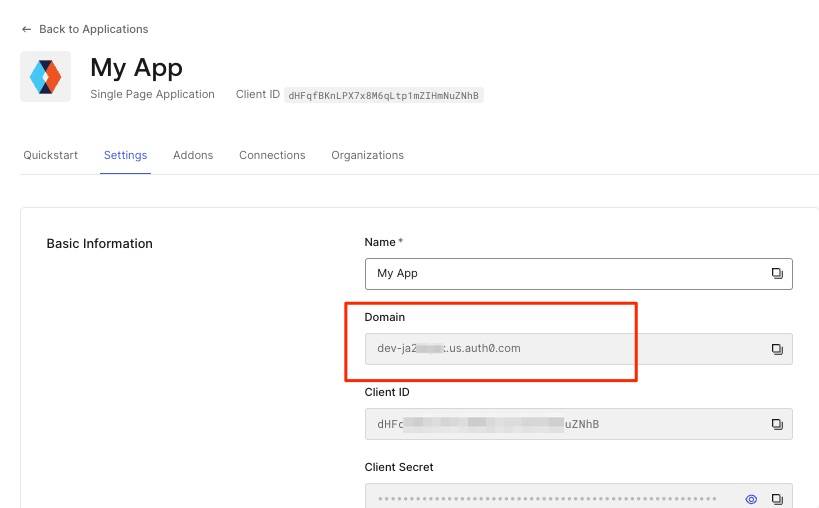
When you enter the openid-configuration endpoint URL (https://<AUTH0_DOMAIN>/.well-known/openid-configuration) into a browser, you will receive a response resembling the following:

Take note of the issuer value.
Gather jwks_uri
Take note of the jwks_uri value returned from the above openid-configuration endpoint URL.
Create External JWT Signer
Using the values described above, use the ziti CLI to configure an external JWT signer that represents your Auth0 identity provider. You can find details on how to do this in the BrowZer Quickstart documentation
IMPORTANT NOTE:
For external JWT signer's that refer to Auth0, the audience value must be the same value you used to create the above Auth0 API. For the example used in this documentation, it is https://demo.ziti.netfoundry.io.
When using the CLI to create the ext-jwt-signer, make sure you use --audience https://<YOUR_BROWZER_URL>.